 knacksnews
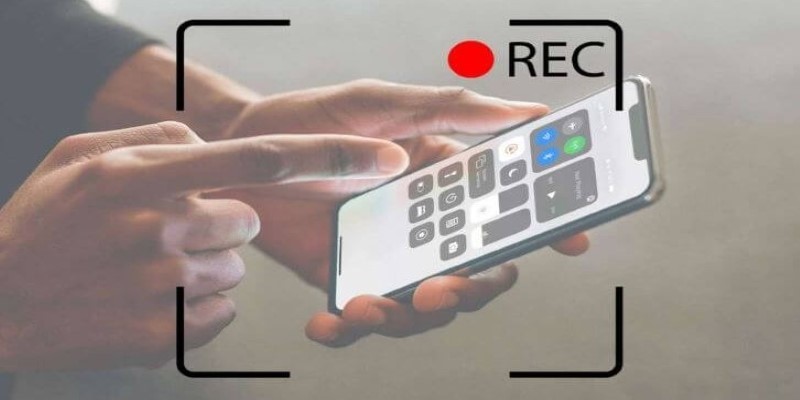
Quick and Easy Ways to Record Your iPhone Screen
Advertisement
You might want to save a game highlight, capture a bug to show tech support or make a quick tutorial for a friend. No matter the reason, screen recording on your iPhone has become incredibly easy. You don't need fancy apps or deep settings tweaks. Most iPhones already have everything built in. And if you need more, a few light apps can cover what's missing. Whether you're using an iPhone 6 or something newer, you've got simple options that don't take more than a few taps.
This article explains easy ways to record an iPhone screen, starting with what your device already offers. Each method is clean, direct, and suitable for anyone—not just tech-savvy users.
Easy Ways to Record iPhone Screen
Use the Built-in Screen Recorder (iOS 11 and up)
You're all set if your iPhone is running iOS 11 or later. Apple included a native screen recording tool in the Control Center.
Steps:
- Open Settings
- Tap Control Center
- Add Screen Recording if it’s not already there
- Swipe down (iPhone X or later) or swipe up (iPhone 8 or earlier) to open Control Center
- Tap the Record button (a filled circle)
- After a 3-second countdown, it starts recording your Screen
To stop, tap the red bar at the top, return to Control Center, and tap the icon again. The video is saved directly to the Photos app. This method works on iPhone 6s through the newest iPhones.
Record with a Mac Using QuickTime Player

If you want to record from your iPhone to your Mac, QuickTime Player makes it easy. It's a solid choice when you need cleaner audio or plan to edit it later.
Steps:
- Connect your iPhone to your Mac using a Lightning cable
- Open QuickTime Player
- Click File> New Movie Recording
- Click the arrow next to the record button
- Choose your iPhone as the camera and microphone
- Hit Record
When done, click the Stop button and save your File.
Use Third-Party Apps Like Record It!
Some users want a little more—maybe editing features, facecam overlay, or annotations. That’s where apps like Record It! come in.
How to use Record It!:
- Download from the App Store
- Open the app and follow the setup
- Tap “Start Recording” and choose Record It! from the screen recording list
- Start recording through the Control Center as usual
- Once finished, return to the app for trimming, cropping, or adding commentary.
It uses the same built-in screen recording tool but gives you more post-recording control.
Use iOS Shortcuts for Automation.
Setting up a custom shortcut can speed things up if you often record your Screen. The Shortcuts app allows automation that can start recording with one tap or voice command.
Example Shortcut Setup:
- Open the Shortcuts app
- Tap + to create a new shortcut
- Use the "Start Screen Recording" action
- Add it to the Home Screen or set it to trigger via Siri
This doesn’t add new features but can save time if you record often.
Mirror iPhone to a PC with Apps Like ApowerMirror or Reflector
If you want to record your Screen on a Windows computer, you can use mirroring apps that display your iPhone screen on your PC and let you record it there.
How it works:
- Install ApowerMirror or Reflector on your PC
- Make sure both your iPhone and PC are on the same Wi-Fi network
- Use Screen Mirroring from the Control Center to connect
- Start recording on the PC app interface
This approach lets you include your iPhone screen in presentations, stream it live, or capture higher-quality footage on your computer.
Use the TechSmith Capture App
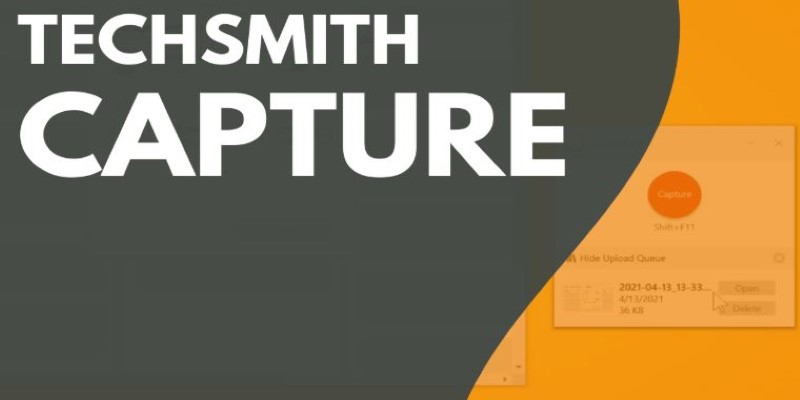
TechSmith Capture is a lightweight app made by Camtasia's creators. It's designed to make screen recording on iPhone easy and shareable, especially if you edit your recordings on a computer afterward.
Steps to use TechSmith Capture:
- Download TechSmith Capture from the App Store
- Launch the app and grant screen recording permissions
- Tap the Record button inside the app
- The built-in screen recording function will be used to organize and store videos inside the app.
- You can export it to Camtasia, share it with cloud drives, or send it via AirDrop.
It’s ideal if you plan to move your footage to a PC for editing or if you want to manage recordings separate from your Photos library.
Use Google Photos for Cloud-Based Access
This method isn't about how you record but how you manage and access your recordings afterward. Once you record using any of the above methods, you can use Google Photos to automatically back up your screen recordings and make them available across devices.
Here’s how it helps with screen recording:
- Install Google Photos from the App Store
- Enable backup and sync
- Record your Screen using any method (e.g., built-in tool)
- Your recordings will upload automatically to your Google account
- Access them from another iPhone, Android, tablet, or computer
This method is useful if you regularly switch devices, collaborate with others, or want to store your content outside of Apple’s ecosystem, especially for work, school, remote access, or long-term storage needs.
Conclusion
Recording your iPhone screen doesn't have to be complicated. The built-in iOS tool already does a great job for most needs. If you want better audio or more advanced features, pairing with a Mac, using a lightweight app, or mirroring to your PC gives you more flexibility. Whether you just need to show a friend how to change a setting or you're building content for an audience, these methods cover it. Each way to record an iPhone screen fits a slightly different use case, but none requires you to spend money or waste time with clunky setups. If you've ever thought screen recording iPhone content was too technical, now you've got simple solutions to prove otherwise.
On this page
Easy Ways to Record iPhone Screen Use the Built-in Screen Recorder (iOS 11 and up) Record with a Mac Using QuickTime Player Use Third-Party Apps Like Record It! Use iOS Shortcuts for Automation. Mirror iPhone to a PC with Apps Like ApowerMirror or Reflector Use the TechSmith Capture App Use Google Photos for Cloud-Based Access ConclusionAdvertisement
Related Articles
PyTorch 2.7 Introduces FlexAttention, Mega Cache, and More Updates

Vivaldi 7.2 Brings Faster Performance and Smarter User Controls

Nameplates and Animated Usernames Arrive in Latest Discord Update

Effortless Ways to Enjoy iPod Videos on Your Television

9 Notion Formulas That Will Make Your Databases Smarter and More Efficient

Rust 1.86 Enhances Trait Objects, Borrow Checker, and More
Experience Smarter AI Assistance with Trae’s New GPT-4.1 Integration
How to Convert SWF Files to Animated GIF
Enhanced Search and Tagging Features Rolled Out in Linkwarden 2.10

7 Free and Premium Google Maps Plugins for WordPress You Need to Try
Quick and Easy Ways to Record Your iPhone Screen